Have you ever wished you could simply paint in or paint out the focus in your images? This tutorial will show you a very simple technique that will allow you to do just that; you’ll learn how to apply focus or blur to your images using the Brush tool in Photoshop CS6.
Before we dig in to this tutorial let me first mention that this technique isn’t intended for realistic control of the focus and bokeh in your images. Instead it’s a handy technique that you can use for creative focus. If you’re looking for precise control of the focus and bokeh in your images I recommend you look into onOne Software’s FocalPoint 2 software. FocalPoint 2 gives you accurate control of the focus your images and amongst other things, allows you to recreate the blur and depth of field from several popular lenses. If you want to take this technique to the next “advanced” level I recommend you download a 30 day trial of onOne Software’s Perfect Photo Suite 8 for evaluation.
Watch the video.
What you’ll need for this tutorial.
To begin you’ll need 2 images of the same subject. One of the images should be shot using a small aperture, which will give you a high depth of field—the majority of the image should be in focus. The other image should be shot using a large aperture, and the resulting image should have a minimal depth of field.
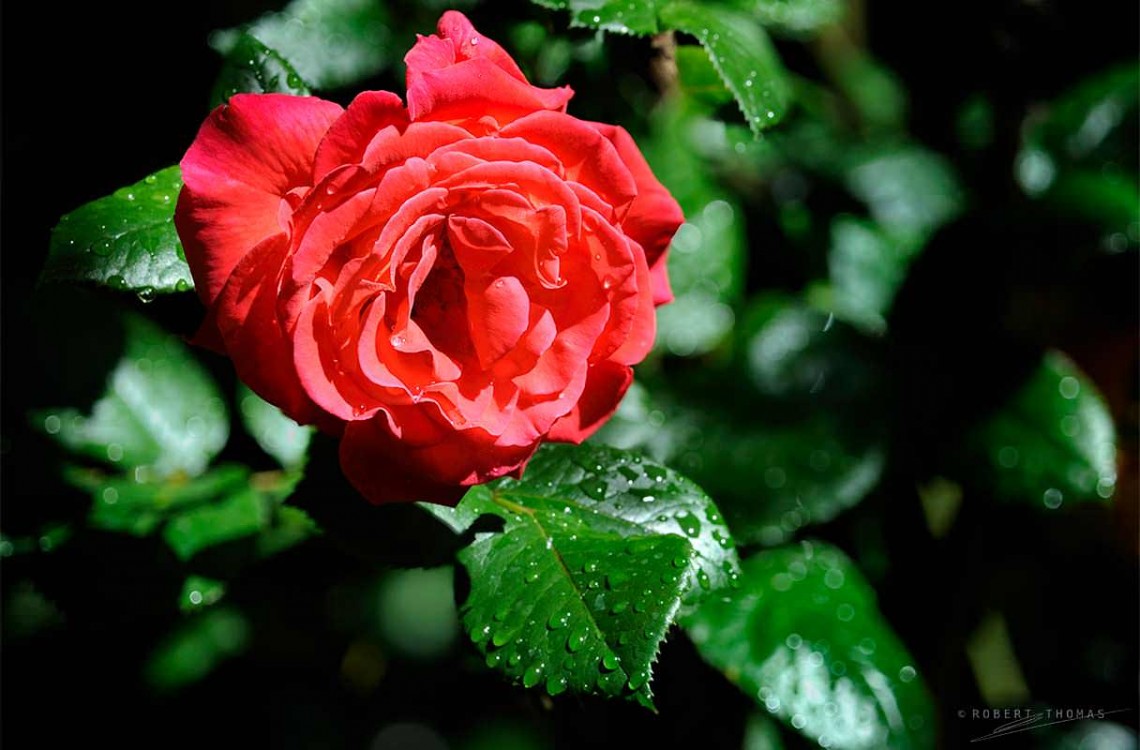
In this tutorial I’m using a couple of images of a rose from my garden. One image was shot at f/22 (Rose-1) and has a high depth of field. The other image was shot at f/5 (Rose-2) and has a reduced depth of field. Feel free to use these two images to follow along with this tutorial: Rose-1.jpg, Rose-2.jpg.
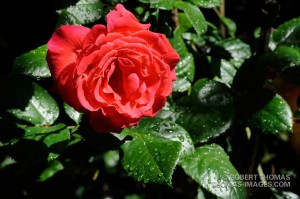
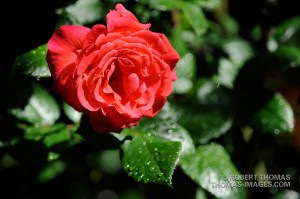
When capturing your own images for this technique you’ll want to use a tripod so the images align properly in Photoshop. If you didn’t use a tripod when capturing your images you can always use Photoshop’s Auto-Align feature. (See Controlling Depth of Field with Multiple Images for information on how to use this feature).
The steps
Open both images and place each on its own layer in a single document.
To start we’ll want to open each image into a single file, each with its own layer. Like most techniques in Photoshop there’s several ways to accomplish this, but for this example we’ll simply open each file in Photoshop, and then move one of them to the other using the “Duplicate Layer” option.
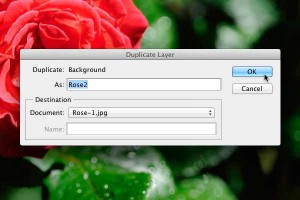
With both images open in Photoshop and the Rose-2 file active, right-click on the layer name and select the option “Duplicate Layer.”
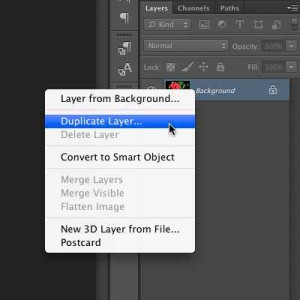
In the new “Duplicate Layer” window select “Rose-1.jpg” in the “Destination” field.
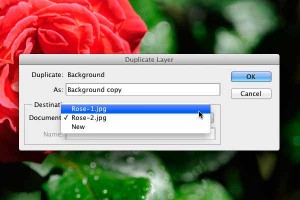
While we’re in this dialog box let’s name this new layer “Rose-2” by typing “Rose-2” in the “As:” field. Click on “OK” to accept your changes, and Photoshop will copy the new layer to the Rose-1 file.
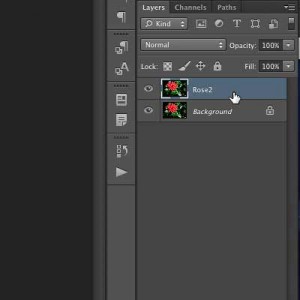
In Photoshop switch to the Rose-1 file and you’ll see that the new layer “Rose-2” has been added to the file.
Add a layer mask
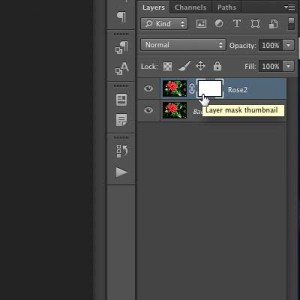
Confirm the new “Rose-2” layer is selected by clicking on it once, and add a white layer mask to the layer by clicking on the “Add layer mask” icon.
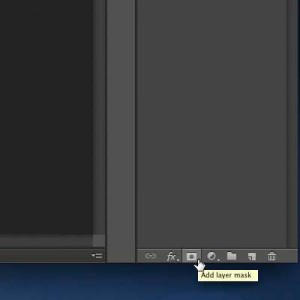
A new layer mask will be added to the “Rose-2” layer. Click once on the new layer mask to confirm that it’s selected.
Paint in the focus or blur
Set the default foreground and background colors by hitting the “D” key. This will set the foreground color to white and the background color to black. Next hit the “X” key to reverse the two colors so the foreground color is changed to black.
Select the Brush tool by hitting the “B” key, select a soft brush of the appropriate size, and begin painting on the image in the locations you want to sharpen the focus. Be sure the brush blend mode is set to “Normal,” and the opacity is set appropriately (I use 90-100%).
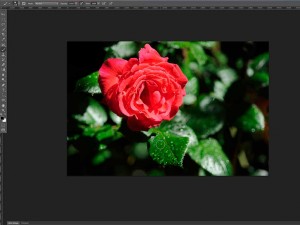
If you painted in the focus in an area that you didn’t want to, you can paint the blur back in by reversing your foreground and background colors—just paint on the layer mask with a white brush. To paint the blur back in, hit the “X” key to reverse your color pallet and paint over the area that you want to remove the focus.
Review your work
When you’re done painting in the focus you can Shift+Click on the layer mask to disable the layer mask and see the “before” version of your image. This is a great way to see the results of your work. Shift+Click on the layer mask to re-enable it.
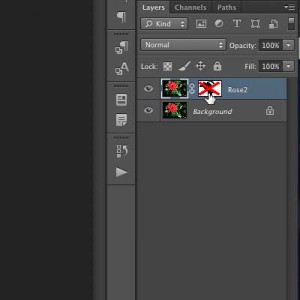
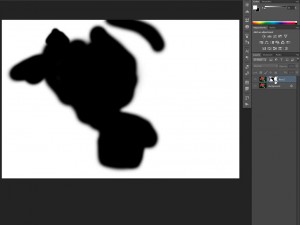
You can also Option+Click (Alt+Click in Windows) on the layer mask to display the layer mask and see where you applied your paint strokes. This can come in handy to see any areas that you might have missed with the brush. When the layer mask is displayed, you can also see the density of your paint strokes. You can Option+Click (Alt+Click in Windows) on the layer mask again to hide it and show the image again.
This technique can also be used to hide or show areas of your image. For example let’s say you have a couple of images of a group of people. In one image a person (let’s call him Joe) isn’t smiling, but everyone else is smiling. In the other image Joe is smiling, but some of the other people aren’t smiling. You could use this technique to hide the people that aren’t smiling, or show the people that are smiling, and end up with one image where everyone is smiling!
That’s it for this tutorial! As you can see, applying this technique is very easy, and it’s good technique to tuck away in your arsenal of Photoshop tricks. Feel free to leave comments and start a conversation!
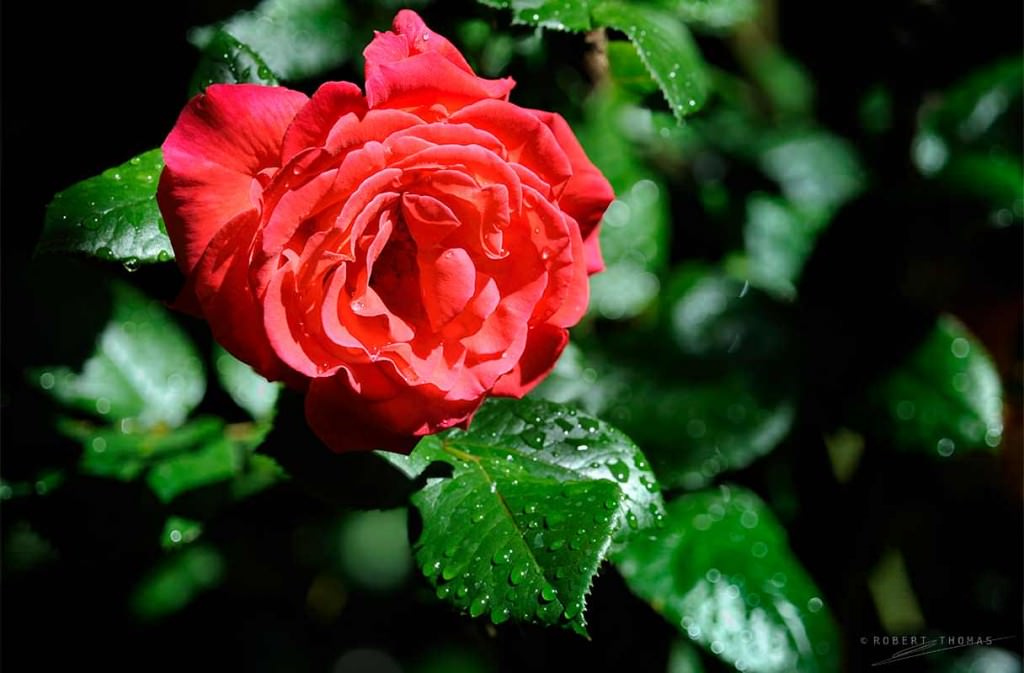
The final image
[poet-badge]
I’ve been looking for something like this for a while and I appreciate you making it available. I do mainly bird photography and I can see how this technique is going to be really useful to have the focus on the birds and the background a little blurred.
Excellent! Thanks for the comment Mary Ann!
Nice article with video, Icing on the cake. You have done a great job.