When shooting macro images to bring out those hidden details in small objects, your resulting image often has a very shallow depth of field (DOF). While this can be overcome by using a very small aperture, the resulting image might have too much DOF, where too much of the image is in focus, and the image might be slightly less sharp. What can you do to get all of your subject in focus, but still keep the background blurred?
One option is to capture several shots of the subject using a tripod and manual focus. For each shot of the subject, you would vary the focal point. For example in this tutorial I’m using a photographs of a mushroom. The first shot would have the very foremost part of the mushroom cap in focus. The second shot would have an area just behind the foremost edge of the mushroom in focus. You would continue taking photos, while progressively moving the focal point to a spot farther away from the camera. In this example you would stop taking your series of photos when the focal point reaches the far edge of the mushroom cap. Once all of the images are captured, you would use Photoshop to align all of the images, and then blend them to create one final image that has the entire subject in focus.
So how many photos should you take?
The more focal steps you capture, the better the results. However the more photos you need to process, the longer it will take to process them. In this example I took a total of 14 images of the mushroom. Depending on your subject, you may need to capture more or less images.
The more focal steps you capture, the better the results. However the more photos you need to process, the longer it will take to process them.
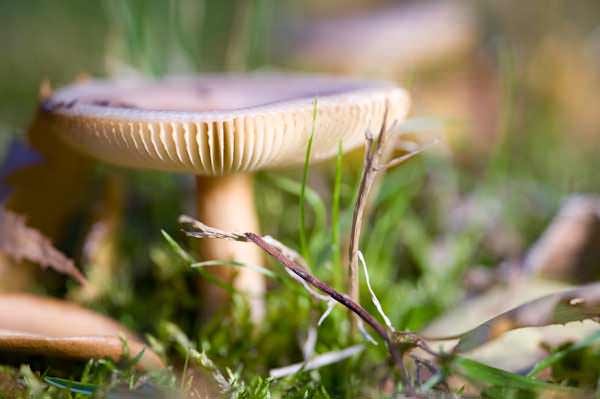
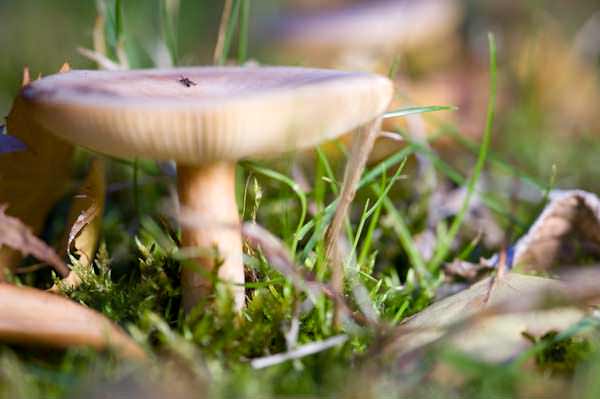
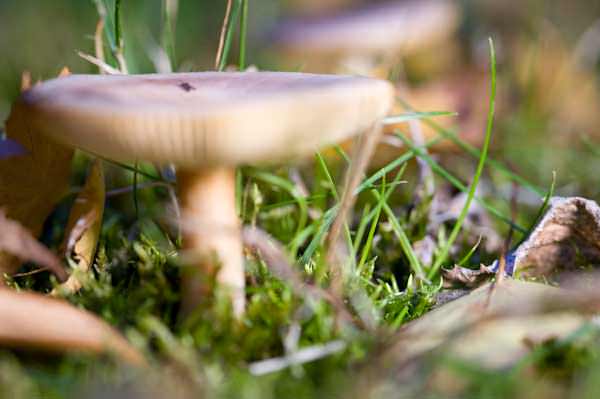
Below is a sample of 3 of the 14 images I processed—you can see the focal point moving from the front edge to the rear edge of the mushroom.
The steps
Load images into Photoshop layers
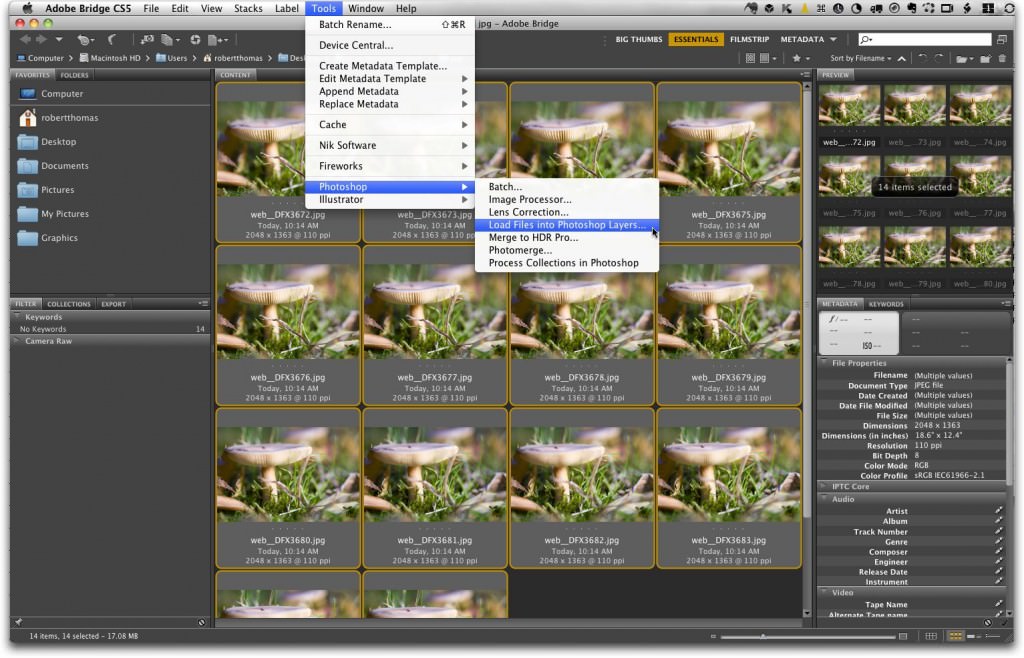
In Adobe Bridge, select all of the images and then select Tools > Photoshop > Load Files into Photoshop Layers…
Auto-align layers
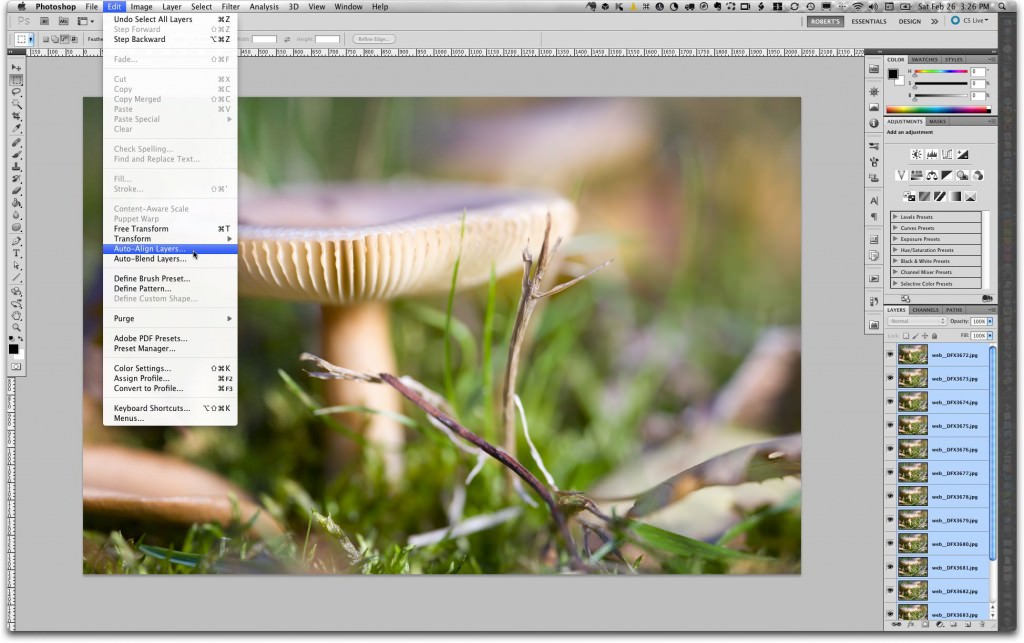
Once Photoshop finishes loading the images as layers you need to align the images. To use Photoshop’s built-in align option, select all of the layers by using the keyboard shortcut Cmd+Option+A (PC: Ctrl+Alt+A), and select Edit > Auto-Align Layers. You can also try out the StackAlignCrop script by Digital Outback Photo (see my HDR Photography and Image Processing Tutorial for more info).
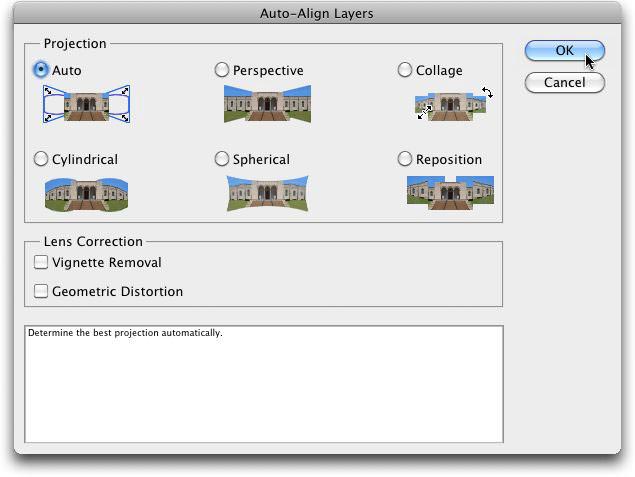
The Auto-Align dialog box will appear. Select “Auto” and deselect “Vignette Removal” and “Geometric Distortion” (unless you really think your images need these options enabled).
Auto-blend layers
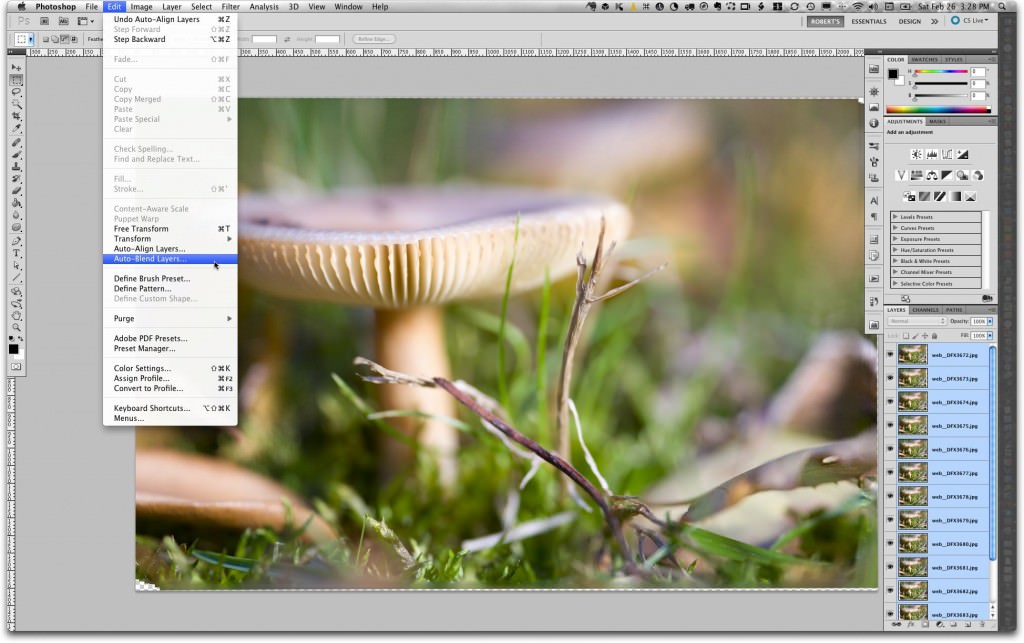
Once Photoshop finishes aligning the layers you need to blend them—effectively keeping the best parts of the various images. To use Photoshop’s Auto-Blend option, select Edit > Auto-Blend Layers.
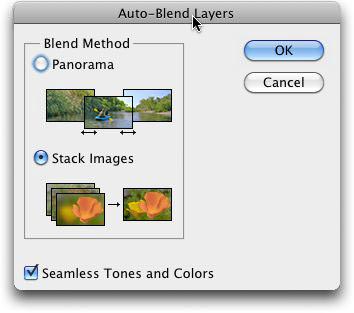
The Auto-Blend dialog box will appear. Select “Stack Images” and “Seamless Tones and Colors.” Note that depending on the image you are using, you may want to deselect “Seamless Tones and Colors.” For my mushroom image I left this option deselected, however your image may work better with it enabled.
Clean-up
When Photoshop finishes blending the layers, you will see that a layer mask has been applied to each layer. The blending process isn’t perfect, and you might notice some areas of the image are out of focus, or there may be some artifacts. If some areas of the image appear out of focus, but you know that a focused version was among the series of images you processed, you can locate that image in the layers stack and paint on the mask with a soft white brush to reveal the focused parts of the image. The same applies to any artifacts that you may see.
Sometimes it may be hard to locate the image/layer that contains the good information. As an alternative option, you can always open the original image in Photoshop, and copy it into the current file, placing it at the top of the layer stack. Then apply a layer mask to this layer and fill it with black. Then paint with white to reveal the good areas of the image.
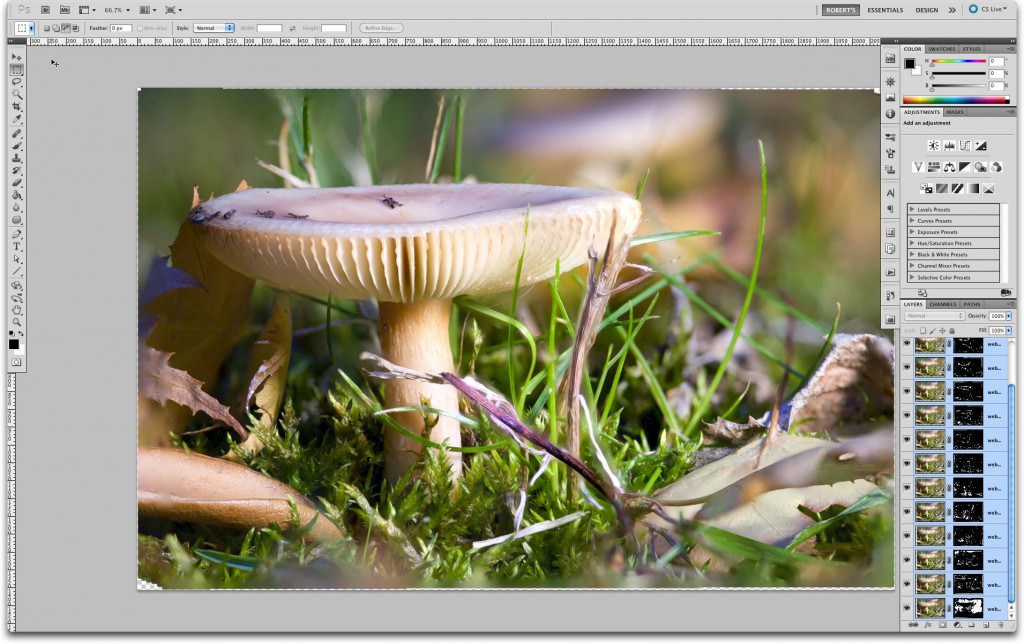
Finishing touches
Once the image focus and artifact problems have been resolved, there are several ways to finish the image.
What I would do is create a merged copy of all layers by using Cmd+Shift+Option+E (PC: Ctrl+Shift+Alt+E). This will create a new layer at the top of the layer stack that is a flattened version of all of the underlying layers. After cropping the image and saving the document as a PSD file (with all layers), I would convert this merged layer into a Smart Object, and proceed to use my typical arsenal of image processing tools by vendors such as Nik Software, Topaz Labs, and onOne Software’s Perfect Photo Suite 8.
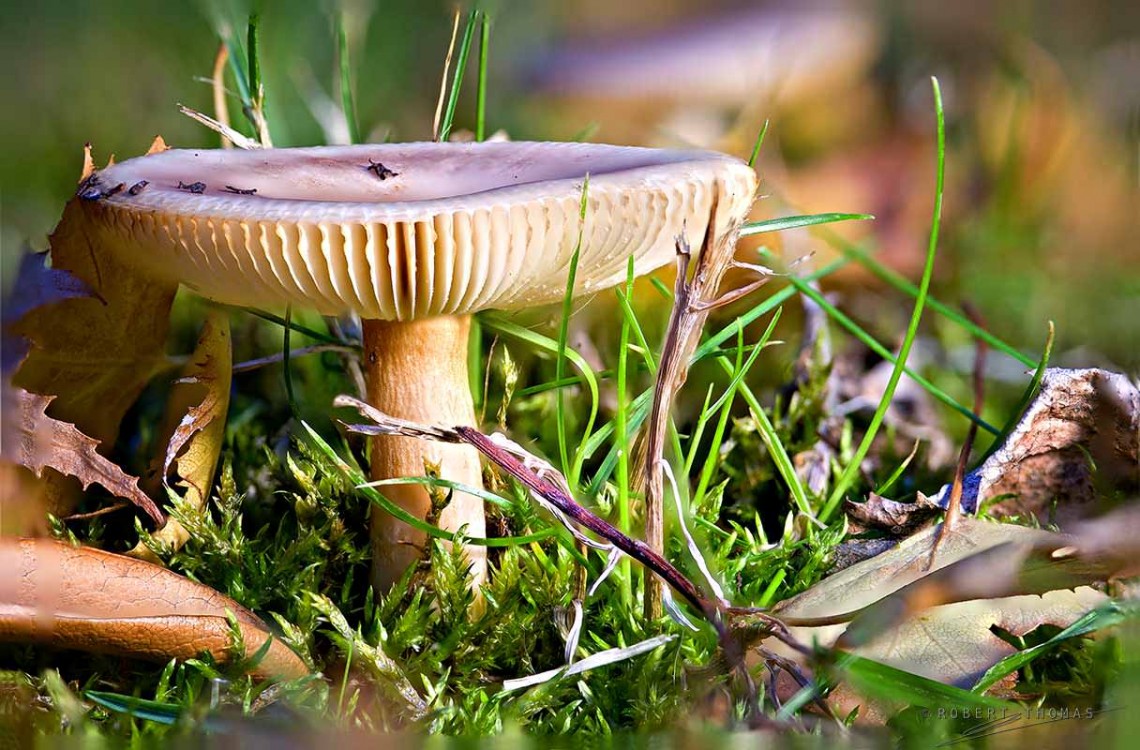
The final image

[poet-badge]
Interesting tutorial! I haven’t played around much with auto-align and auto-blend, it’s unlocked more of photoshop’s many features to me 🙂
hi thanks for sharing