Ever crop an image only to find that the crop wasn’t quite right? Typically you would have to start over and try cropping the image again, however using this technique for non-destructive cropping, you can readjust the crop.
The steps
Quick steps for advanced Photoshop users
- Open your image in Photoshop and create a new empty layer at the top of the stack.
- Fill this layer with Black.
- Switch to Full Screen mode.
- F7 to bring up the Layers panel.
- Turn off the visibility of the new black layer.
- Use the Marquee tool, and draw a rectangle over the image where you want to crop it.
- Add a layer mask to the new layer and invert it.
- Click the anchor icon (paper clip) between the black layer icon and its mask to unlock them.
- Use the Move tool to move the marquee, or Cmd+T [PC: Ctrl+T] to Free Transform it.
- Fill the black layer with white if you plan to print it (the white won’t print), or use the Trim command.
Create a new layer
Begin by opening your image in Photoshop, then create a new layer at the top of the layer stack by using the keyboard shortcut Cmd+Shift+N (PC: Ctrl+Shift+N).
Hit the “D” key to set your pallet to the default colors, and with the new layer selected, use the shortcut Option+Delete (PC: Alt+Backspace) to fill the layer with black.
Switch to Full Screen mode by pressing the “F” key twice.
Press the “F7” key to open the layers panel while in Full Screen mode.
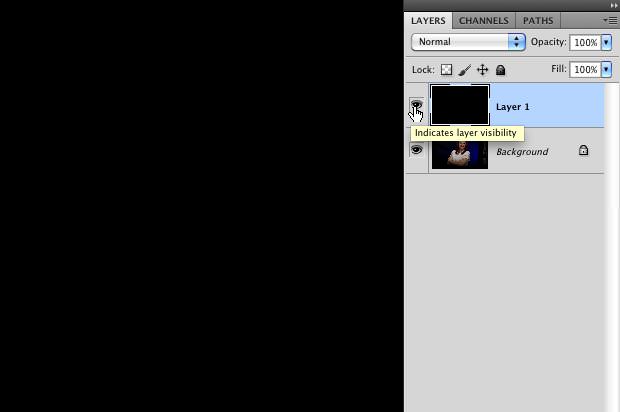
Click the eyeball icon on the upper layer (the layer filled with black) to turn off Layer Visibility for this layer. When you do this, the underlying layer with your image will become visible.
Layer visibility on
Layer visibility turned off
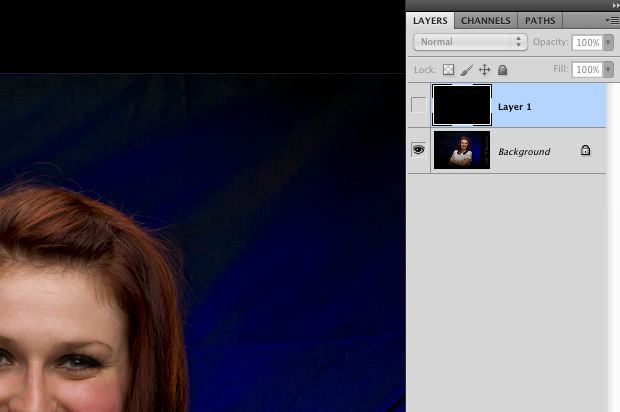
Press the “M” key to bring up the Marquee Tool, and draw a rectangle over the image where you want the crop to be.
You can press and hold the Spacebar while you’re drawing the marquee to move it.
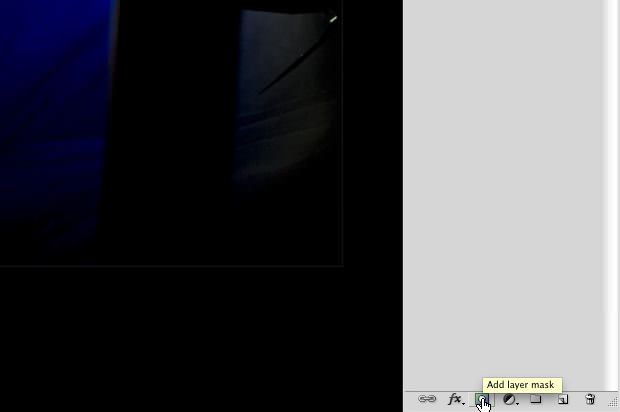
Add a layer mask
Add a layer mask to the layer by clicking the Add Layer Mask icon.
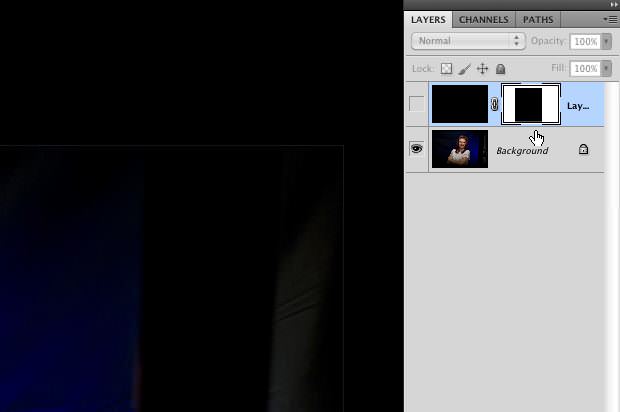
Invert the mask
Invert the mask by using the keyboard shortcut Cmd+I (PC: Ctrl+I).
Unlink the mask
Click the anchor icon (paper clip) between the black layer icon and its mask to unlink them.
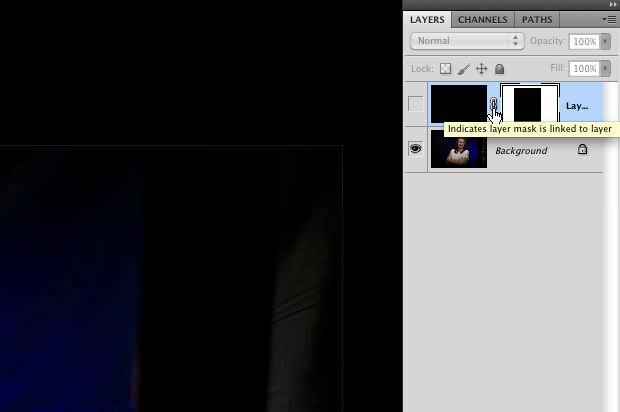
The layer and layer mask unlinked.

Press and release the “V” key and click and drag to move the marquee, or use Cmd+T (PC: Ctrl+T]) to use the Free Transform tool to manipulate the marquee.
If you experience problems moving the mask, be sure the layer mask is selected.
Fill the black layer with white if you plan to print it (the white won’t print), or use the Trim command. To fill the layer with white, select the black layer icon (not the mask), and use Cmd+Delete (PC: Ctrl+Backspace). To trim the image, exit Full Screen mode by pressing “F” once, and select Image|Trim from the menu.
If you think you will ever want to reopen the image with this non-destructive crop, be sure to save the file as a PSD or TIF file, and include the layers when saving.
There you have it, a non-destructive crop!
Before crop

After crop

[poet-badge]

I’ve read lots of these complex non-destructive crop examples. But, you know you can also just use the built-in non-destructive crop. After setting the crop region with the crop tool, set the cropped area to “Hide”. Then the crop is non-destructive. You can get the picture back by just doing Image/Reveal All. The advantage of your method would be that you can save multiple crops in layers to reproduce them later.
I did find I had to duplicate the image layer if I loaded a JPEG for this feature to be enabled.
Does this work with Photoshop CS6? I tried this on several photos and the cropped area did not fill the entire screen, nor would it be saved to a jpeg or printed. The cropped area shows on the screen within the full image area (in black or white). Saved jpeg or print preview shows cropped area withi original photo size frame. Am I missing something?
i love this content, thanks for this good idea, its best place for info