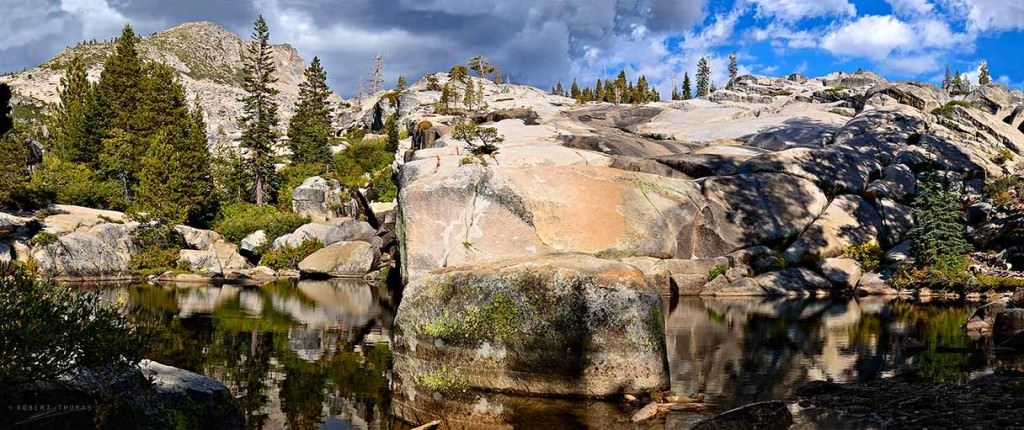
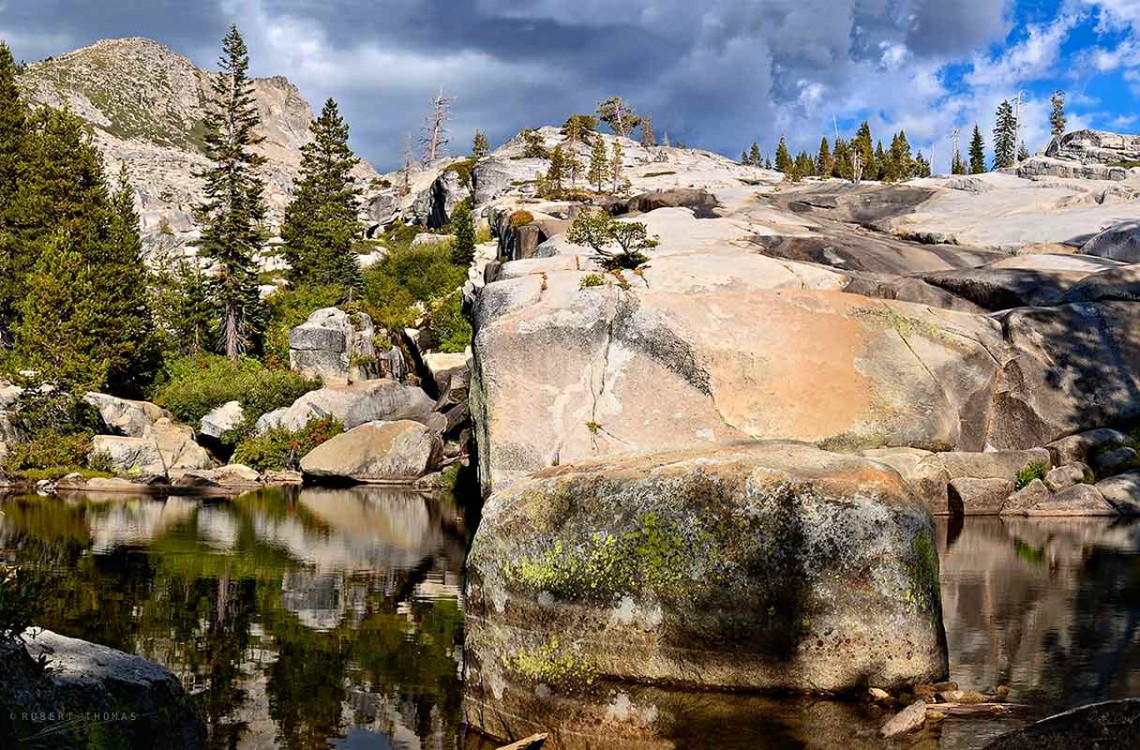
Shooting multiple image panoramas is fairly simple, but there are several techniques that will help you achieve the best results.
Advantages of Multiple Image Panoramas
Some photographers capture panoramas as a single image using a wide angle lens, but I prefer to capture several images with a longer lens, and then stitch them together during post-processing.
Panoramas created from a series of images have the following benefits:
- The panorama can be as wide as you want.
- The panorama will have higher resolution and more detail.
- Lens vignetting will often be minimized.

Shooting Tips
The most important rule to remember when shooting multiple image panoramas is to avoid letting your camera make any decisions for you—capture your images using as many manual settings as possible.
- Overlap your frames by 1/3 (25% to 33%). The more overlap the better (within reason). When capturing the images pick a spot in the frame as a reference point to help you estimate your panning range.
- Manually set your white balance.
- Set Focus to manual.
- Shoot in Manual Mode, or at the very least use Aperture Priority and lock the Exposure. Take several exposure readings for the range you will be photographing and use the average. Whatever settings you choose to use, use these settings for all photographs that will comprise the panorama.
- Use the optimal f-stop. When selecting your exposure settings keep in mind you probably want a large depth of field (DOF) in your panoramas. You’ll also probably want the sharpest images you can get. If you’re using a camera with a full-frame sensor shoot around F/11, and on a cropped sensor shoot at F/8 or F/9 (generally speaking if you shoot with a cropped sensor camera at F/11 or more, the image will appear soft and it won’t be as sharp as it could be).
- Re-shoot the panorama frames a few more times using different exposure values. For example re-shoot all frames again using -1/4 stop, and then again using +1/4 stop. Use your judgement when making these adjustments. If you have lots of time and your location was hard to reach, you might want to keep shooting the frames using a variety of settings to insure you’ve captured what you need.
- Turn off Active D-Lighting on Nikon cameras, or Auto Lighting Optimizer on Canon cameras.
- Use a tripod when possible.
- Make sure the tripod is level. Rotate the tripod head and take various leveling measurements. You can also test the level of the camera once it’s on the tripod by placing a small level on the flash shoe.
- Take photographs in both landscape and portrait camera positions. Portrait images can give you more leeway if you need to crop the top or bottom of the images—remember you are shooting a multiple image panorama, so you have a large horizontal panning range.
- Use a Nodal Rail (sliding rail) if available to make sure your camera rotates around the “entrance pupil” (not necessarily the nodal point). For more info about the entrance pupil, which is otherwise known as the no-parallax point (NPP), read the article “Finding the No-Parallax Point” by John Houghton.
- Shoot in RAW mode when possible.
- Use a UV Haze filter.
It’s important to use as many manual settings as possible—you want all of the images that make up your panorama to be as consistent as possible.
Shooting in manual mode is very important when capturing photographs for a multiple image panorama. While the auto settings on modern cameras can be very sophisticated, they aren’t always consistent. For example you could take several photos of the same scene (all within one second) using an auto mode, and each photo could be slightly different because the camera decided to change the capture settings. This is why it’s important to use as many manual settings as possible—you want all of the images that make up your panorama to be as consistent as possible.
Post-Processing Tips
I recommend you make any post-processing image adjustments after your images have been stitched into the final panorama. If you need to make adjustments prior to stitching, be sure to apply the same adjustments to all of the images that will comprise the final panorama.
[poet-badge]
