The holiday season is now upon us, and this is the time our digital cameras usually get a good workout taking lots of photos of our friends and family. It’s also a great time to experiment with your camera and try some new techniques!
Lots of folks take photos of people standing in front of a Christmas tree, and why not? The shimmering ornaments and colorful lights glowing on the tree makes for a great background! Photos like this can look great, and have the potential of resulting in some memorable shots, but there’s some techniques you can use that will improve these types of shots, and that’s the topic of this article—balancing the ambient light from your Christmas tree lights with your digital camera’s flash.
This article pertains to capturing great photos of your subjects in front of a Christmas tree, but the same concepts also apply to any photography where you want to balance the flash and ambient lighting.
When you take photos of your subjects in front of a Christmas tree with your camera set to the “Auto” mode, the ambient light, and in particular the Christmas tree lights, never really get a chance to register on the camera’s sensor. Instead the light from the flash plays a dominant role in the photograph—the resulting image will have good exposure of the subjects, but barely visible Christmas tree lights. These types of photos could look much better if you could just balance the light from your flash with the light coming from the Christmas tree lights. In other words: less flash, and more tree lights.
Flash vs Ambient Light
To keep the flash from overpowering the lights on the Christmas tree and effectively drowning them out, you need to give the tree lights time to register on the camera’s sensor, and this “time” needs to be when the flash isn’t firing. This really isn’t hard to do when you think about it—flash is virtually instantaneous, especially when compared to the shutter speeds of a camera.To get a good photo of your subject in front of a Christmas tree, you just need to capture the ambient light from the tree lights when the flash isn’t firing, and then add a touch of “fill-flash” on your subjects. In general terms, this means you need to reduce the shutter speed on your camera and manage the output from your flash.
Generally speaking, the exposure for your subjects is from the flash, while the exposure for your background is from the ambient light.
When using TTL flash mode, which is a common flash mode for both point-and-shoot cameras and DSLRs, you can adjust the shutter speed, aperture, and ISO to control how the ambient light registers, and the flash settings won’t be affected (within reason). When adjusting any of these settings to get the desired amount of ambient light, you would then manually adjust the flash exposure compensation to control the light from your flash.
Ways to increase the ambient light in your photograph
- Use a slower shutter speed in Manual mode or Shutter-Priority mode
- Use a smaller aperture in Manual mode or Aperture-Priority mode
- To reduce motion blur or ghosting of your subjects in Aperture-Priority mode (because of a slow shutter speed), increase the ISO. This allows you to use a faster shutter speed while maintaining your aperture settings.
- To increase the depth of field in Shutter-Priority mode, reduce the ISO. This allows you to use a smaller aperture (a larger f-stop number) while maintaining your shutter speed.
Point-and-Shoot Cameras
To balance the flash and ambient light when using a point-and-shoot digital camera, read your camera’s manual and see if it has a any built-in “Scene Modes.” If it does, look for a scene mode that’s related to night photography. For example, “Night Portrait” or “Night Landscape.” These pre-programmed “night” shooting modes are typically configured to automatically balance the flash and ambient light, and just might give you the results you’re looking for.
If you’ve tried using one of these “night” scene modes, and the tree lights still don’t stand out in the final image, look in your camera’s manual for any other mode that can slow down your shutter speed. For example, the Canon A560 has a function called “Slow Synchro” that claims to adjust the flash timing to slow shutter speeds. Keep in mind that when you slow down your shutter, you stand a chance of getting blurred subjects if they move during the shot. Another option for some point-and-shoot cameras is “Manual” mode. If your camera has a manual mode, look for a way to either slow down the shutter, or reduce the size of your aperture (use a larger f-stop number).
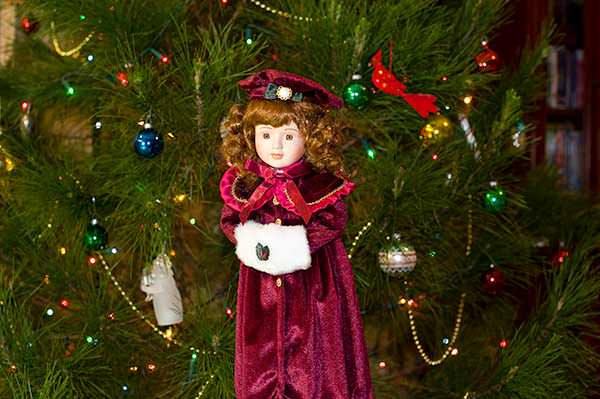
The images below were taken with a Canon A560 point-and-shoot digital camera.


DSLR Cameras
DSLR cameras generally have more options than the average point-and-shoot camera, and ultimately give you more flexibility for balancing the flash and ambient light.
Some camera models also have “slow” flash sync modes that can be used to capture a balanced exposure of both the subject and background ambient light. For example, the Nikon D700 has the following flash sync modes that, when used in “Programmed Auto” or “Aperture Priority” modes, capture a balanced exposure of both the subject and the ambient light:
- Slow sync
- Slow rear-curtain sync
As mentioned above, these flash sync modes can be used to capture both the subject and background ambient light. The primary difference between the two modes is that in “slow sync” mode the flash fires when the shutter first opens, and in “slow rear-curtain sync” mode the flash fires just before the shutter closes. These flash sync modes have uses other than just balancing flash and ambient light, but that’s a story for another day and another blog post.
As long as the shutter is open during a period of time when the flash isn’t firing, the Christmas tree lights will get a chance to register their light information on the camera’s sensor.
Regardless of when the flash fires—when the shutter opens, or just before it closes—either of these modes will work for balancing flash and ambient light (there are however pros and cons for each—see the Tips section below). As long as the shutter is open during a period of time when the flash isn’t firing, the Christmas tree lights will get a chance to register their light information on the camera’s sensor. The term for this is “Dragging the Shutter.” Although this term isn’t used much these days, the concept is still valid.
“Dragging the Shutter” is a term used to describe the technique of using a slow enough shutter speed to allow a measure of ambient light to register when using flash.
If your DSLR doesn’t have these “slow” flash sync modes or something similar, read your camera’s manual and look for any modes or functions that will enable you to reduce your shutter speed while maintaining some level of automated exposure. If your camera doesn’t have any of these built-in functions, I’m confident that it does have a “Manual” mode, and this is the mode will give you complete creative control over your scene. Just remember that the goal is to “drag the shutter” and extended the time that the shutter is open so the ambient light from the Christmas tree can register on the camera’s sensor.
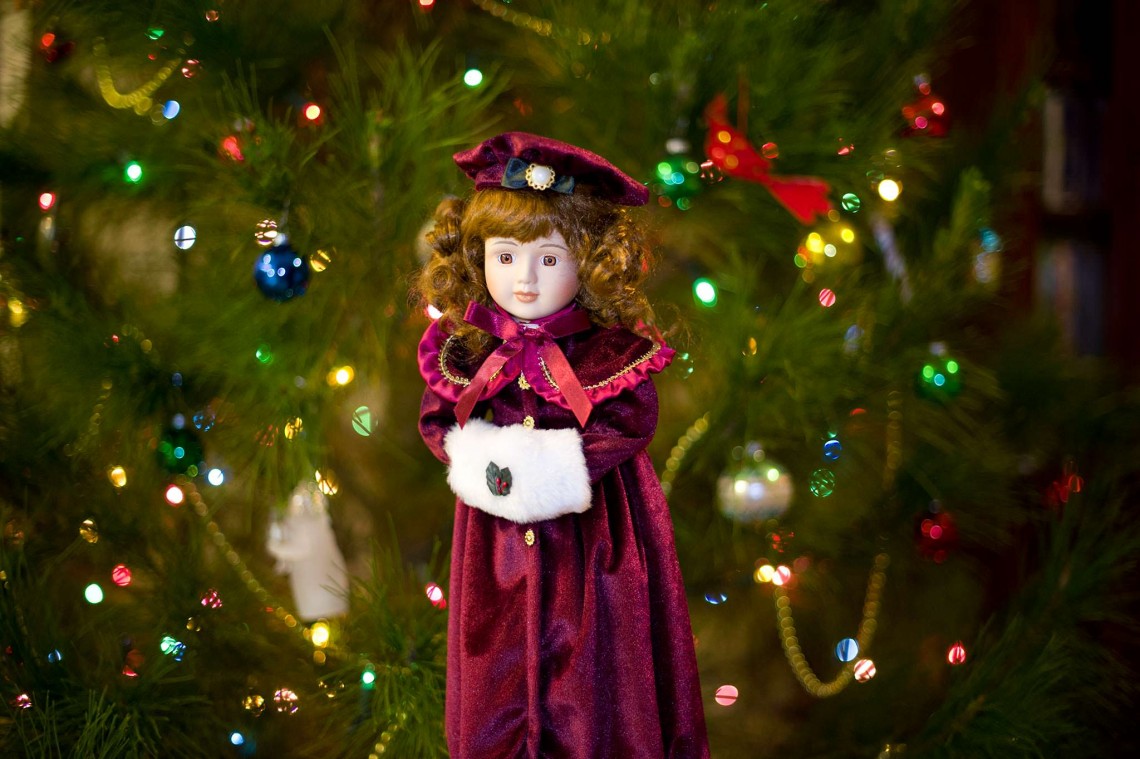
The images below were taken with a Nikon D700 DSLR camera.


The Pros & Cons of Using “Slow Rear-Curtain Sync” vs “Slow Sync”
- When using “slow rear-curtain sync” and TTL flash, people often blink when they see the first flash of light. This first flash is the monitor pre-flash that’s used for metering the flash. Because of this pre-flash, you often capture people blinking during the actual exposure of the shot.
- When using “slow sync,” people often think the photo has been taken once they see the initial flash, and then they begin moving around while the ambient light is still being captured. This can be the cause of ghosting or motion blur. Fortunately the likeliness of this happening can be minimized simply by increasing the ISO, which in turn allows you to use a faster shutter speed.
Because both of these modes can have their drawbacks, some photographers prefer to shoot these types of scenes in manual flash mode. This sidesteps the monitor pre-flash problem and the ghosting problem when using a sufficient shutter speed.
Flash Mode Trivia
- “Front curtain sync,” otherwise known as “first curtain sync,” is the term used for when the flash fires when the shutter first opens. This is the normal flash mode used on virtually all cameras.
- “Rear-curtain sync,” otherwise known as “second curtain sync,” is when the flash fires just before the shutter closes.
- “Slow rear-curtain sync” is similar to “rear-curtain sync” with the exception that it “drags the shutter.”
[poet-badge]

This is probably the number one tip I would give new users of any camera when buying a camera.